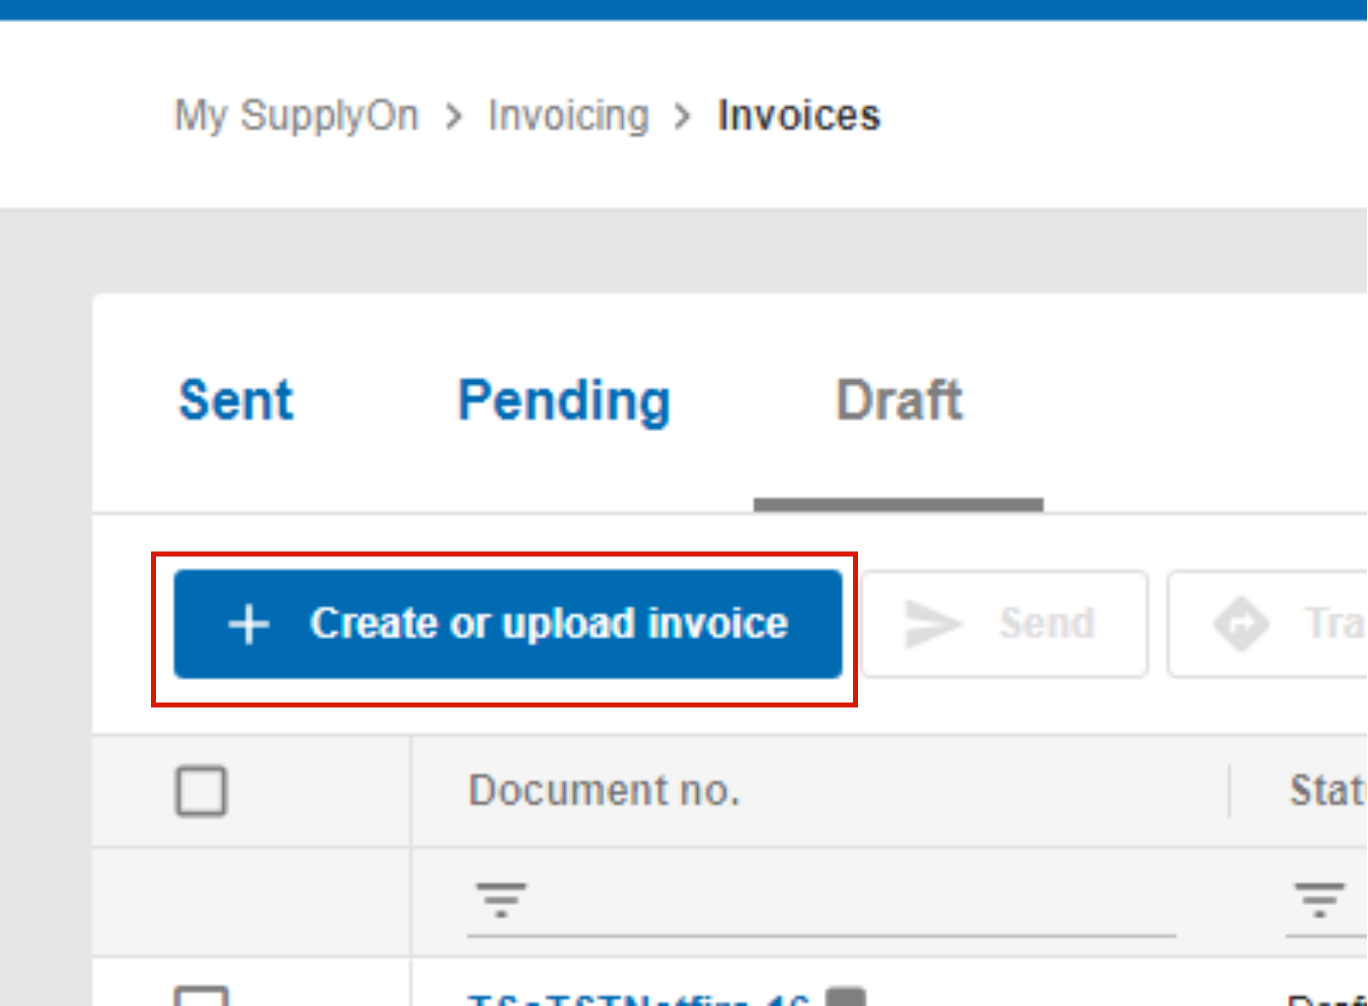
In the previous steps, you have created invoice file(s). Here are all information for uploading CSV files.
Which steps are necessary:
- All you need is a SupplyOn user with the user role "SellerP2P-Create" for SCM or "IndSellerP2P-Create" for AirSupply. The SupplyOn user administrator in your company can help you create a user and assign this role.
- Open the SupplyOn user interface
- Click on eInvoicing (new).
- You are now in the invoice list.
Note: Do not open the CSV file in Excel to avoid losing the formatting.
- Test uploading CSV files with just a few invoices and check the invoice data in the user interface
- Transfer successfully checked invoice data to your customers
Upload and send in two steps
The first time we advise you to upload an invoice without direct sending.

Select Upload CSV files

Click on 'Save as draft'

The upload was not or partially successful (see chapter Error handling)
The upload was successful. There is no further system message, the newly uploaded invoice can be found under the 'Draft' tab.

Before sending, you have the possibility to review the invoice in the user interface or check a draft copy of it by downloading before you send it. You can make corrections and check it again if necessary.

Click on the tab 'Sent' and select the csv Download

Click on 'Send'

Send the document by clicking 'Send'
