On this page you will find support for invoice creation based on an Excel-Upload. The invoice is created in your system and can be sent through SupplyOn in a Excel-format via upload function.
Step 1 - Example Invoice
Create an invoice to a purchase order or Advanced shipping notice.
The step ‘Check’ ensures that you receive an invoice validated to country and customer requirements.
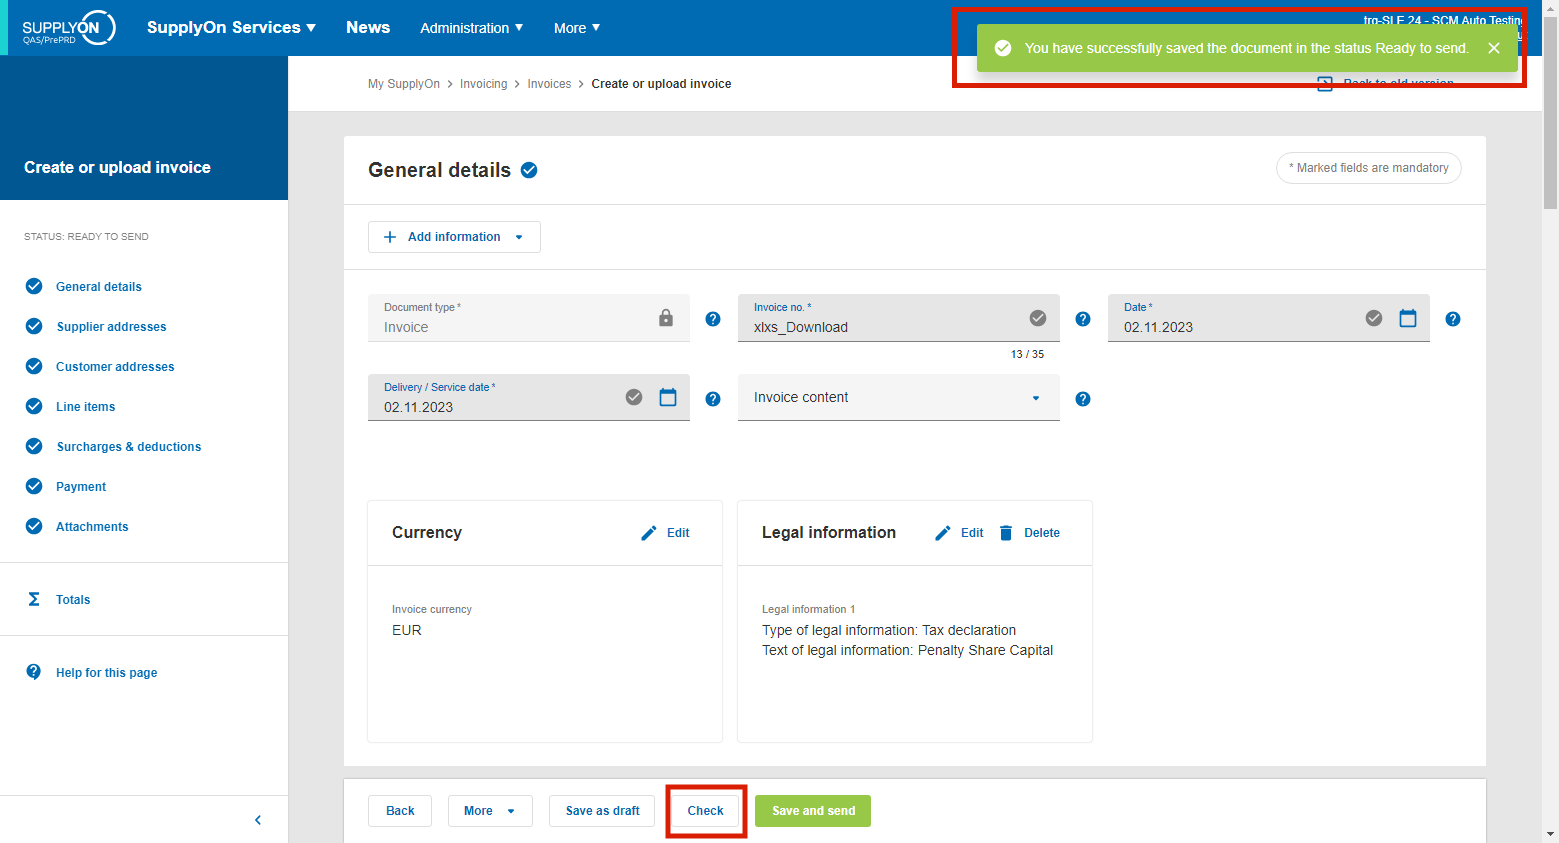
Repeat the step of creation and checking as many times as necessary. Make sure you follow all the different country and financial rules.
For example, invoices have different mandatory fields than credit notes, and each country you create invoices for has different country rules.
Step 2 - Save as Excel-file
Download the just checked invoice(s) as Excel-file.
Download the Excel document

Step 3 - Handover the file(s) to your IT department
Send the file template (s) along with the format description to your internal IT department.
Your IT staff will prepare an export of the invoices from your SAP / ERP system according to the format and the requirements of the sample invoice.
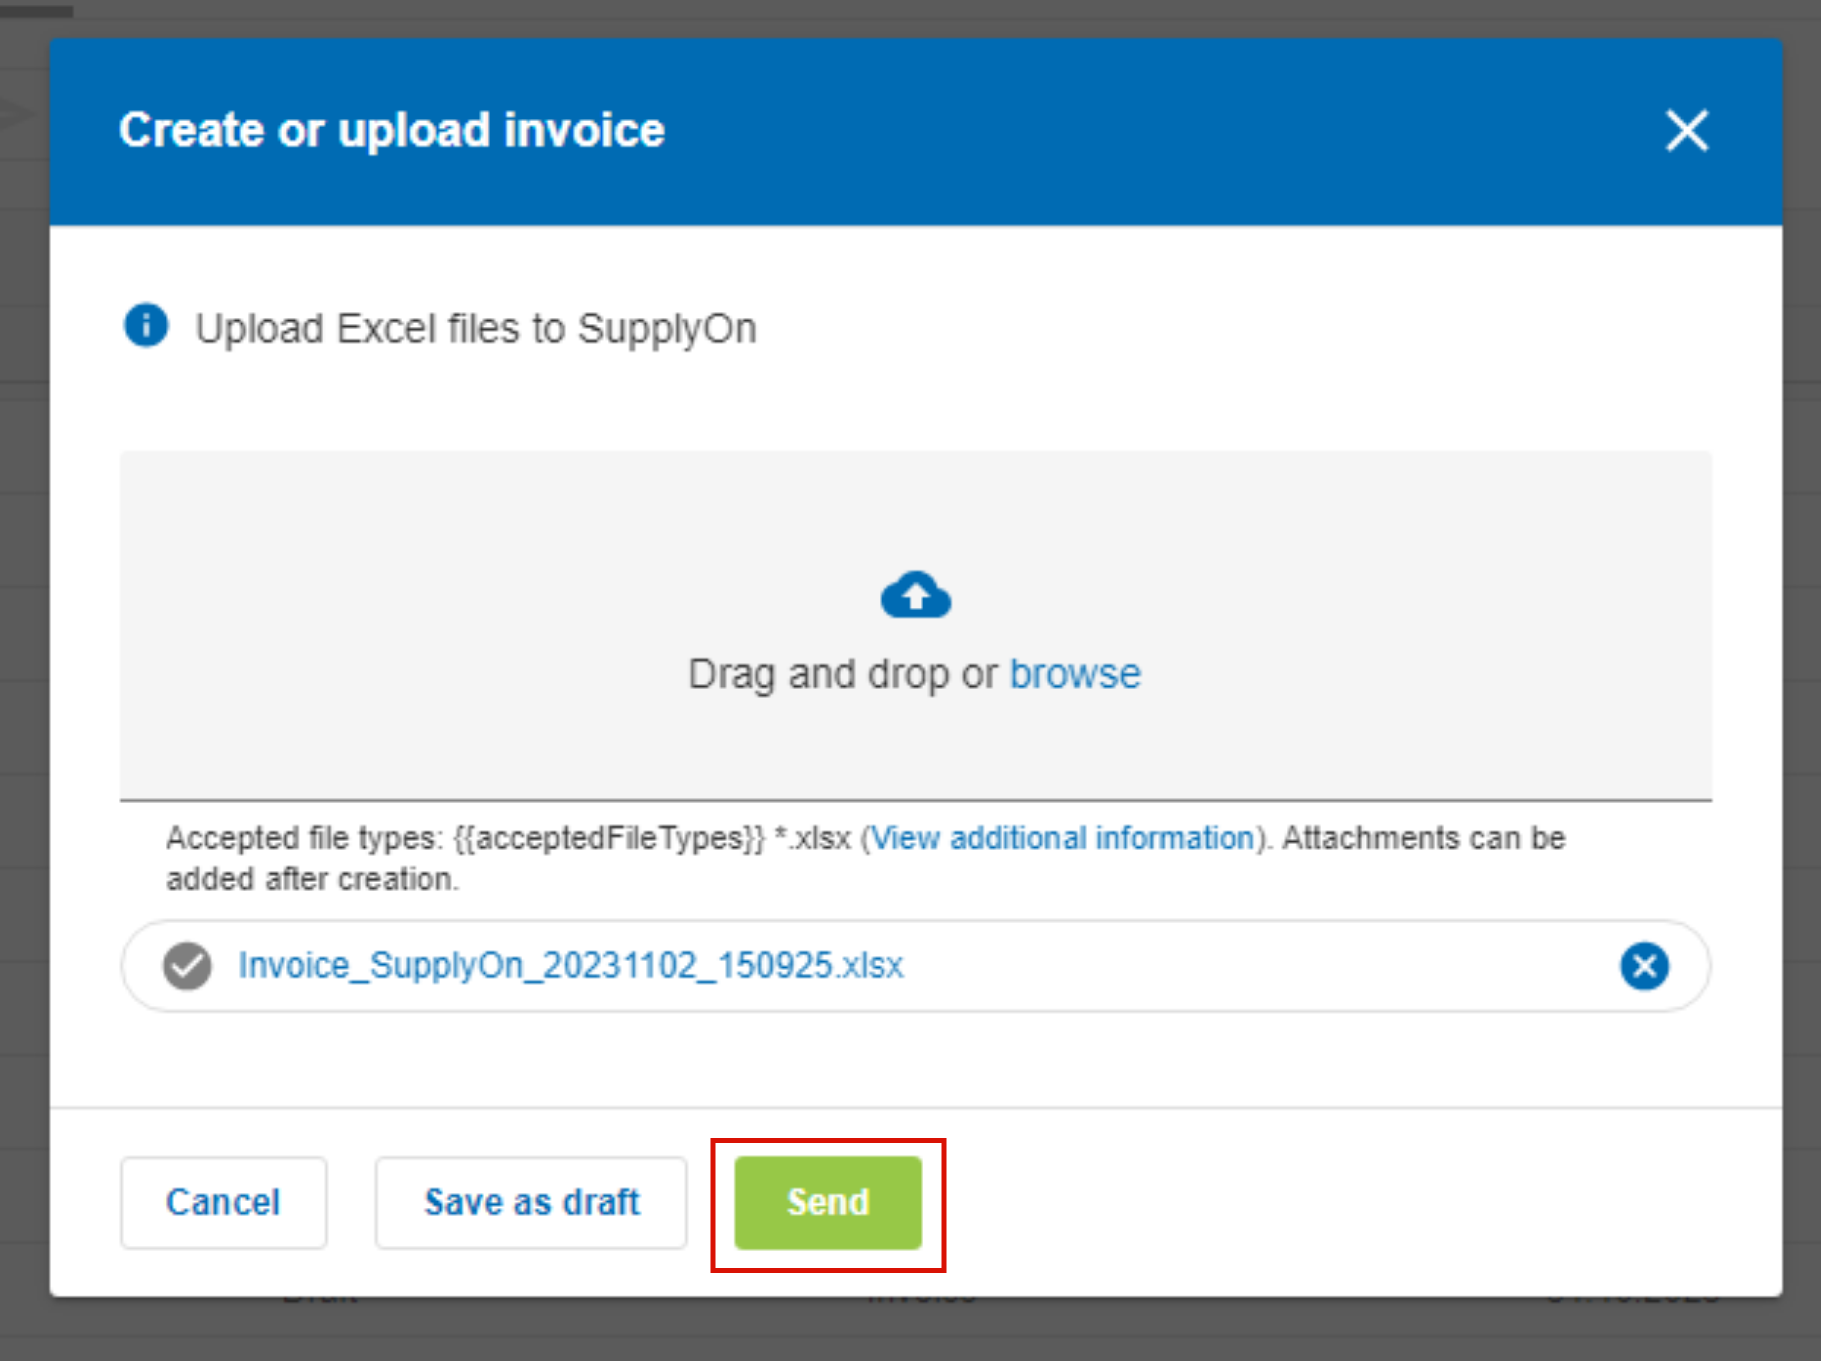
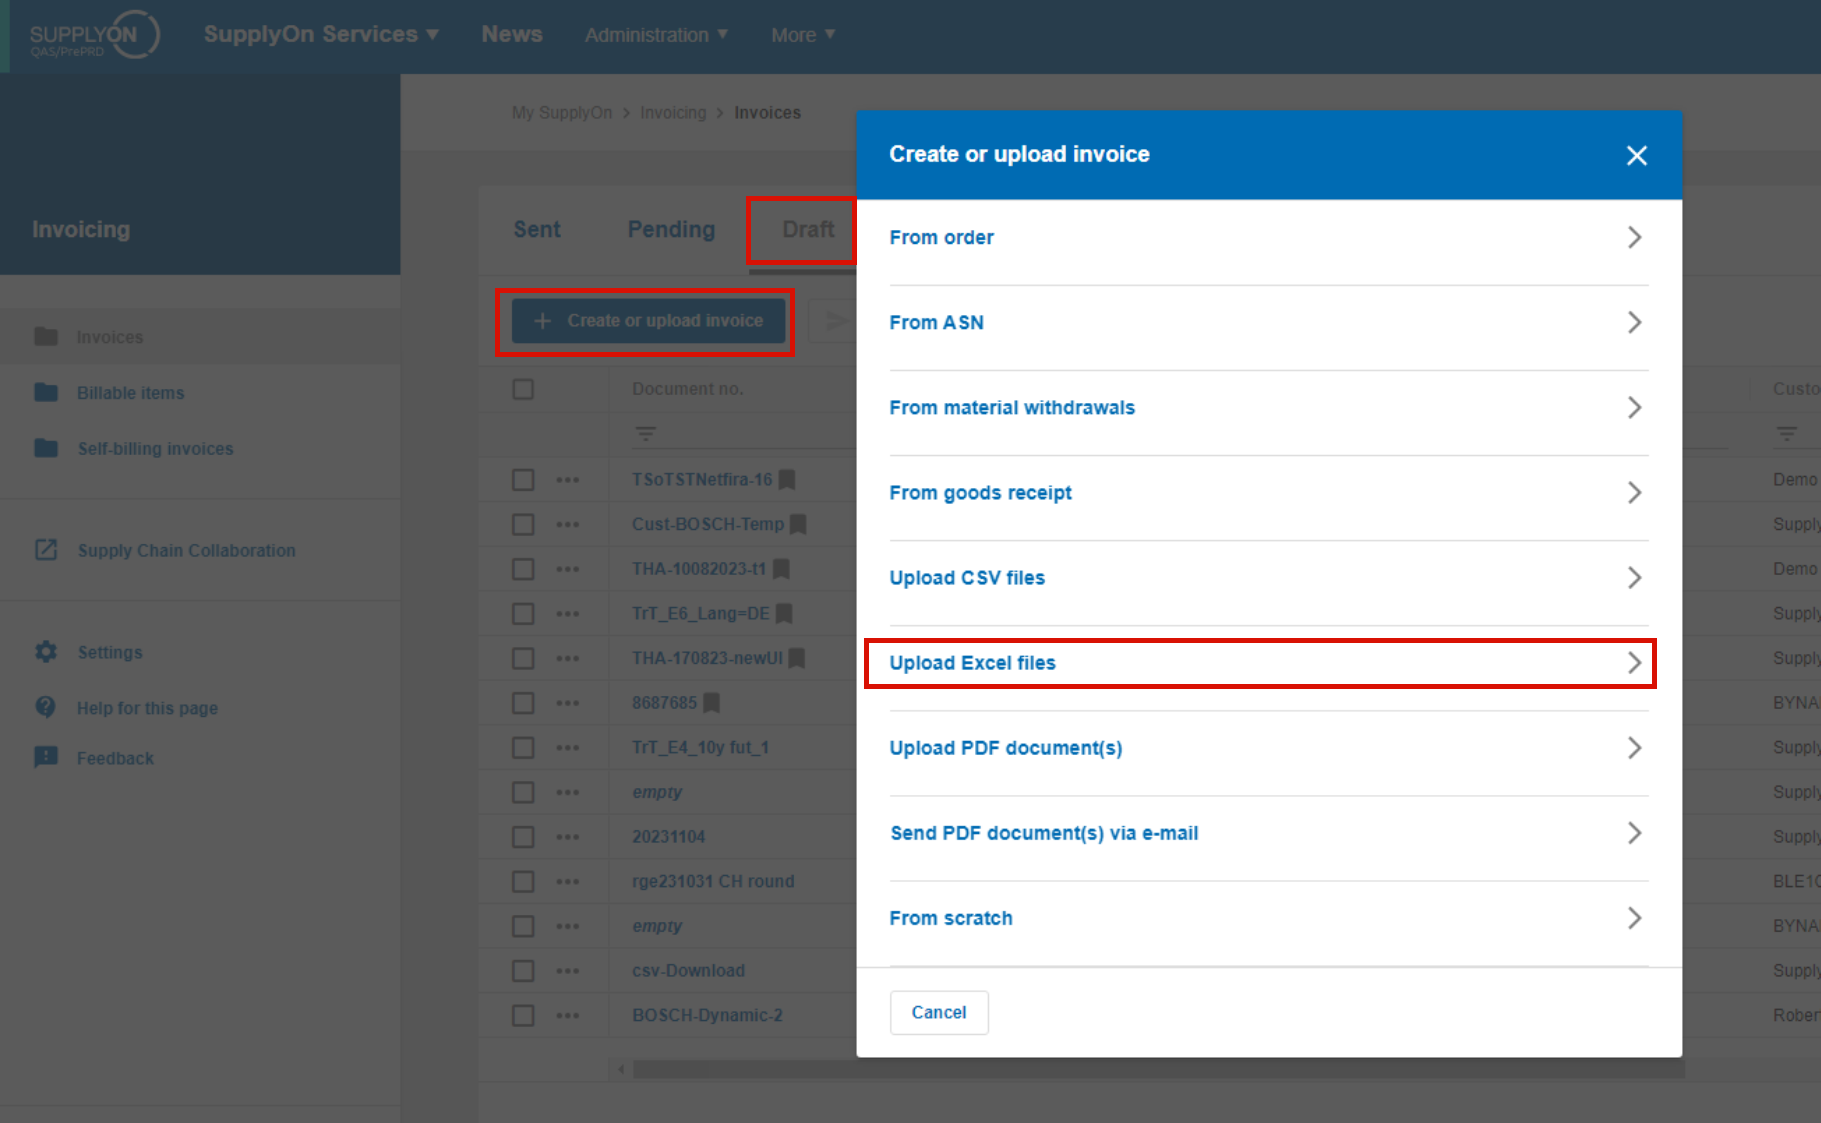
Step 4 - Upload invoice(s) as Excel-file
You can upload the file that was created from your invoicing system.
Please make sure the file does not contain any empty cells which, for example, can happen when copy/pasting values to or within the excel file. You can ensure this by deleting all rows below the invoice values. Simply mark all empty rows, right-click and delete. It is not sufficient to delete rows with the Del-key.
Step -5 Save and Send invoice(s)
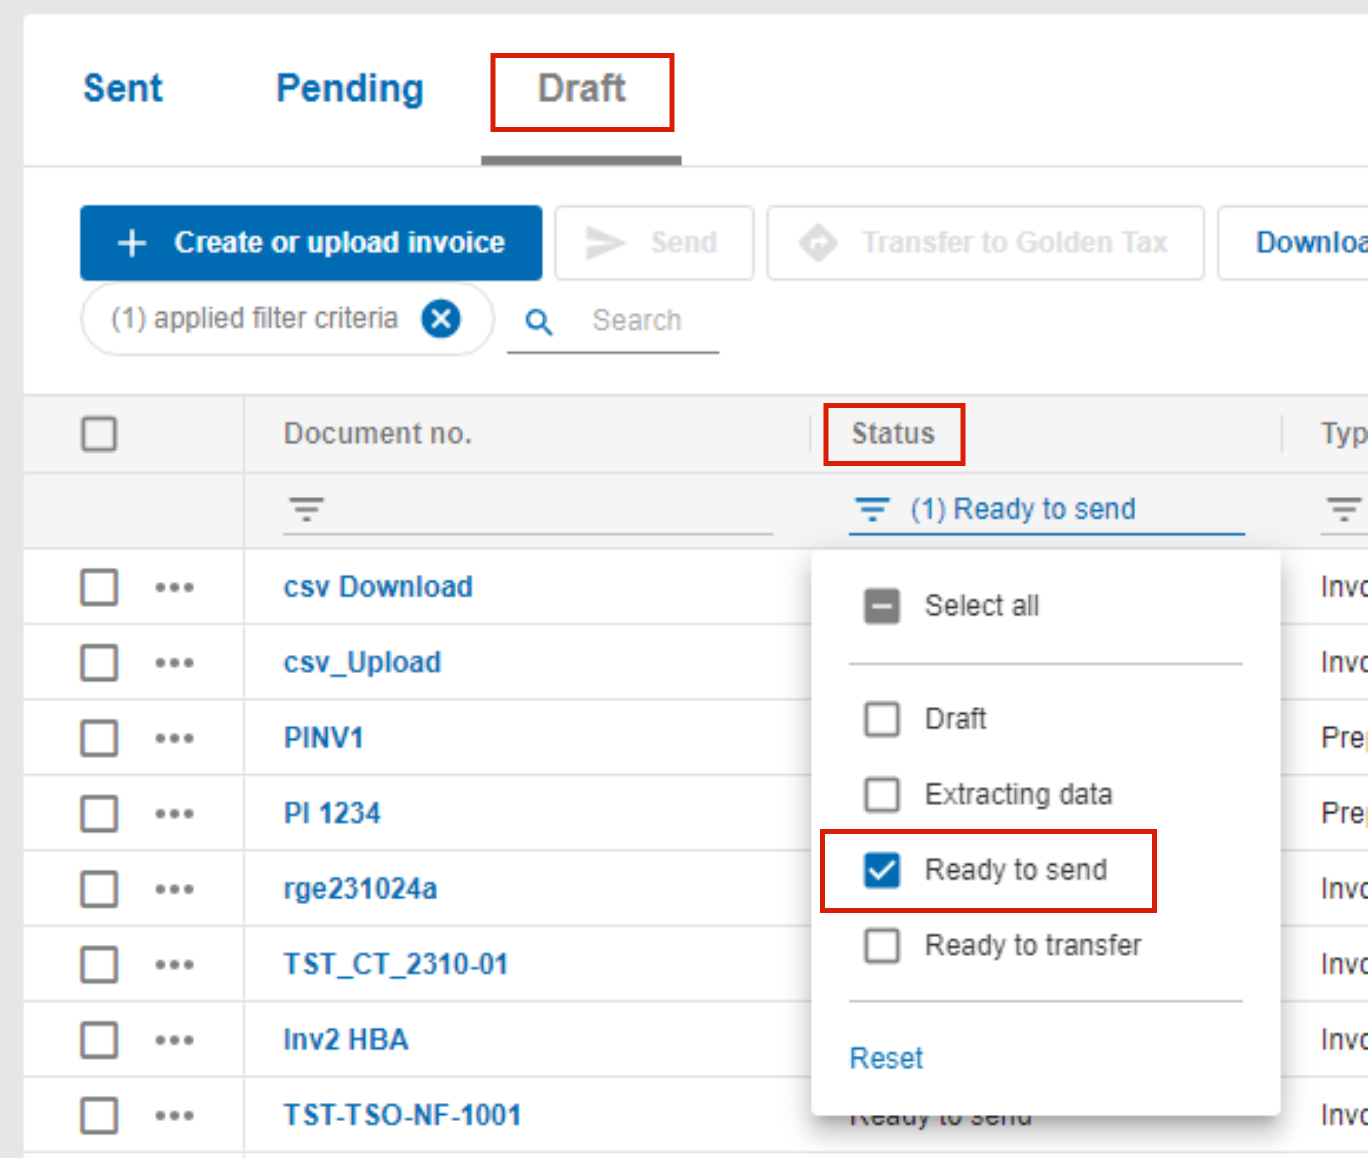
The 'Save as draft' option is ideal for test uploads.
Only a review of the information entered is performed.
The invoice will not be sent and is located in the tab 'Draft' with Status category 'Ready to send'.
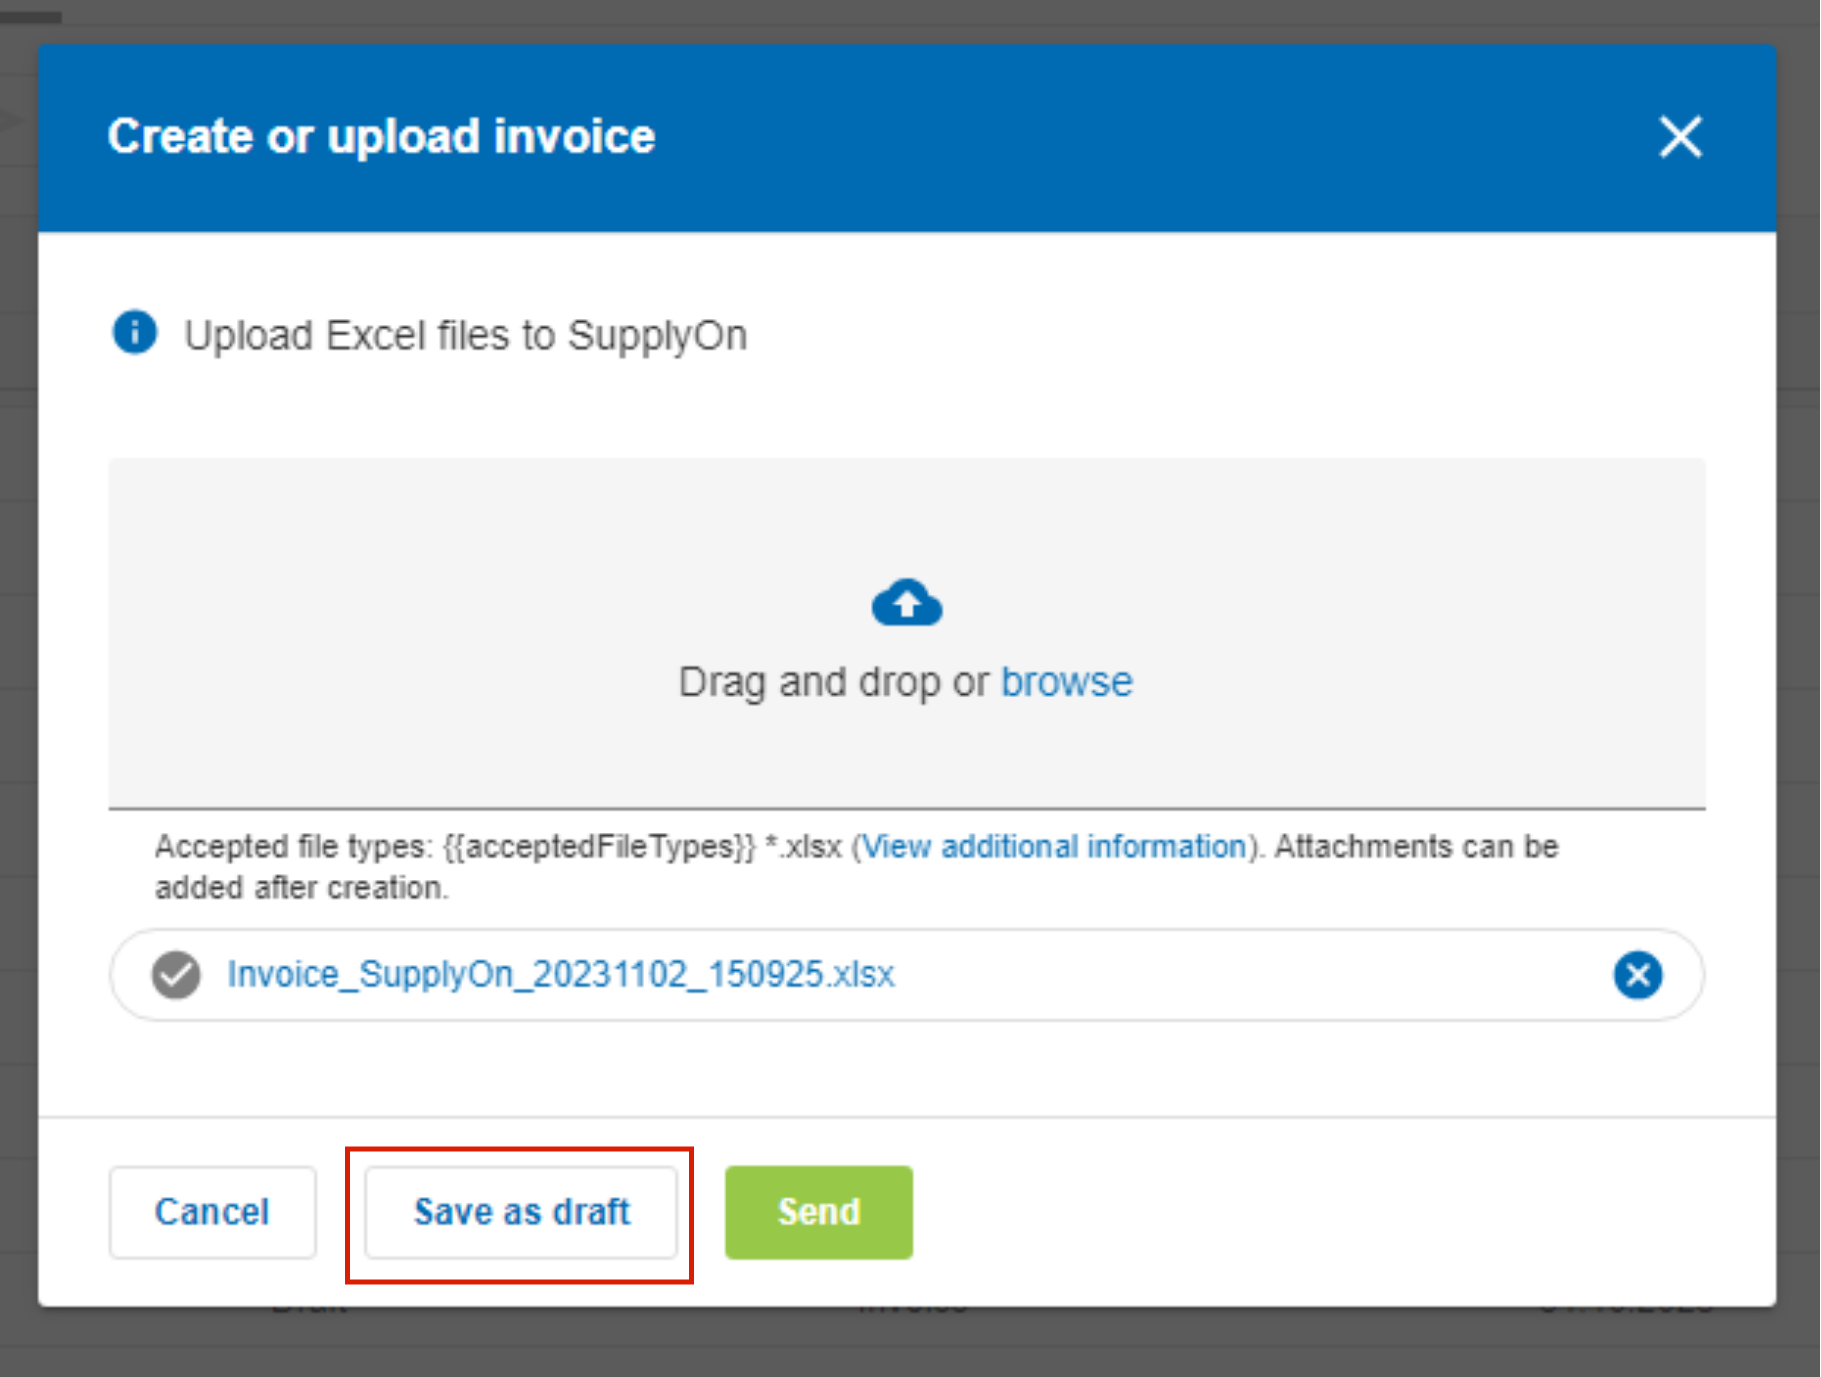
Use the 'Send' option after you have conducted a successful test.