In addition to the SupplyOn GTCs, you have the opportunity to include your own GTCs during the registration process of your suppliers. In this article, you will learn how to maintain your General Terms and Conditions/Policies in SupplyOn system.
A one-time fee is required to use this function. If you wish to use this function, please contact your responsible Account Manager at SupplyOn to discuss the details.
User role: In order to access the GTC tool, you need the role “SLMROCAll” or “SLMROCManager”.
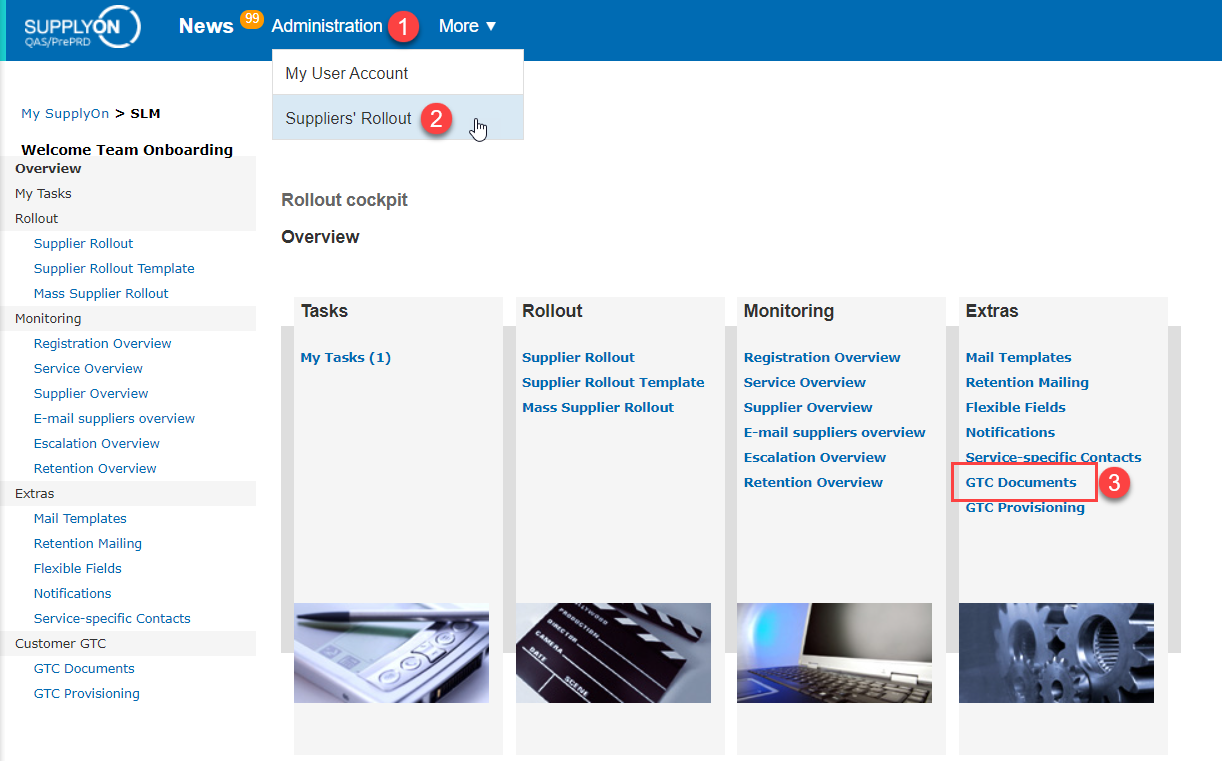
You can access the Customer GTC tool by clicking on Administration (1) > Suppliers’ Rollout (2) > GTC documents (3).
You can add the document(s) by clicking on “Add new document”.

- Insert the GTC Documents name (naming is important in case of a new version publication).
- Insert the GTC Document version (version numbering is important in case of new version publication).
- English document is mandatory.
- Optional: you can add several language documents.
- Upload the GTC document located in your desktop by clicking on Browse. Only one PDF File can be uploaded per Language. Please note that the naming of your PDF document is important, because it will be downloaded as it is by your supplier.
- Click on Save
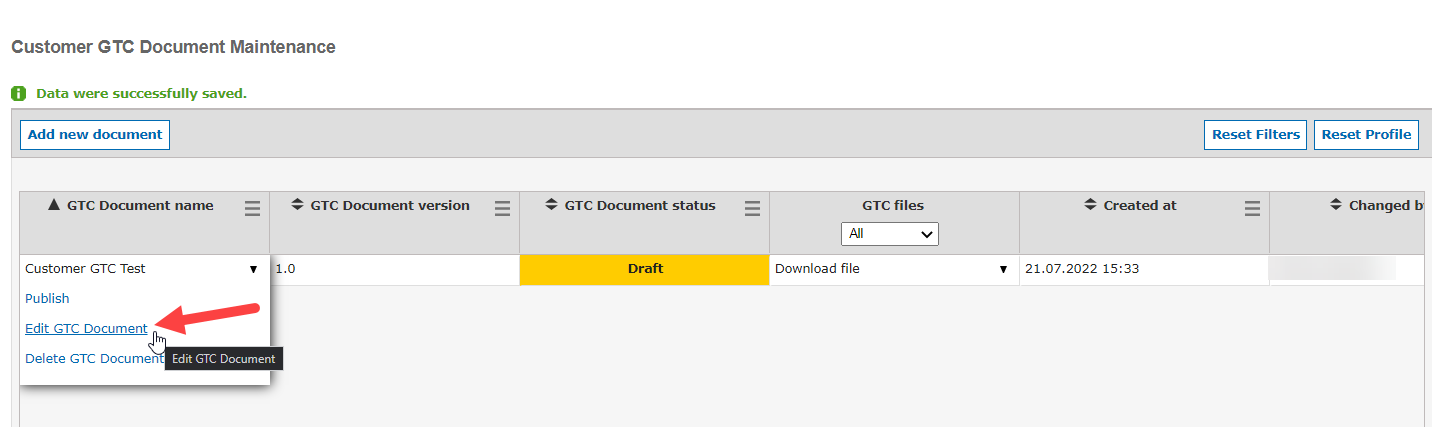
You can maintain your document by clicking on “Edit GTC Document”.
Note: As long as the document has the status “Draft”, you can always edit the uploaded document before its publication.
- Insert the GTC Documents name (naming is important in case of a new version publication).
- Insert the GTC Document version (version numbering is important in case of new version publication).
- English document is mandatory.
- Optional: you can add several language documents.
- Upload the GTC document located in your desktop by clicking on Browse. Only one PDF File can be uploaded per Language. Please note that the naming of your PDF document is important, because it will be downloaded as it is by your supplier.
- Click on Save
You can maintain your document by clicking on “Edit GTC Document”.
Note: As long as the document has the status “Draft”, you can always edit the uploaded document before its publication.
After a successful Upload of your GTC, you can publish them by clicking on “Publish”
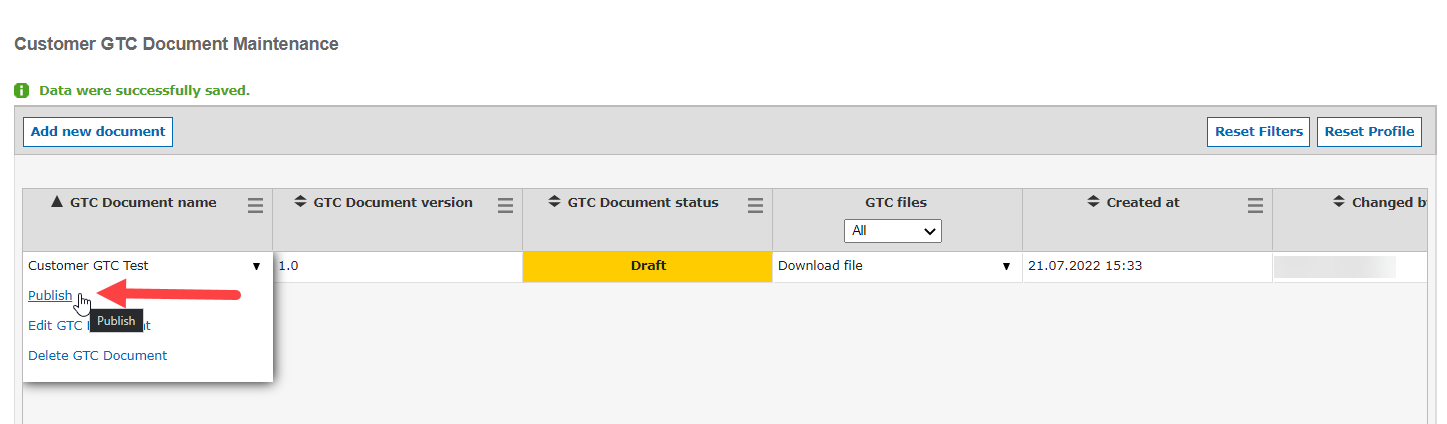
(warning) As soon as the GTC document is published it is included for all newly started rollouts for the activated services.
Following actions on the document versions are possible:
- Draft → delete version
- Draft → publish version → Published
- In "Published" status, further languages can be added. No other changes on the content is allowed.
- Published → unpublish → Outdated
- Outdated → delete version
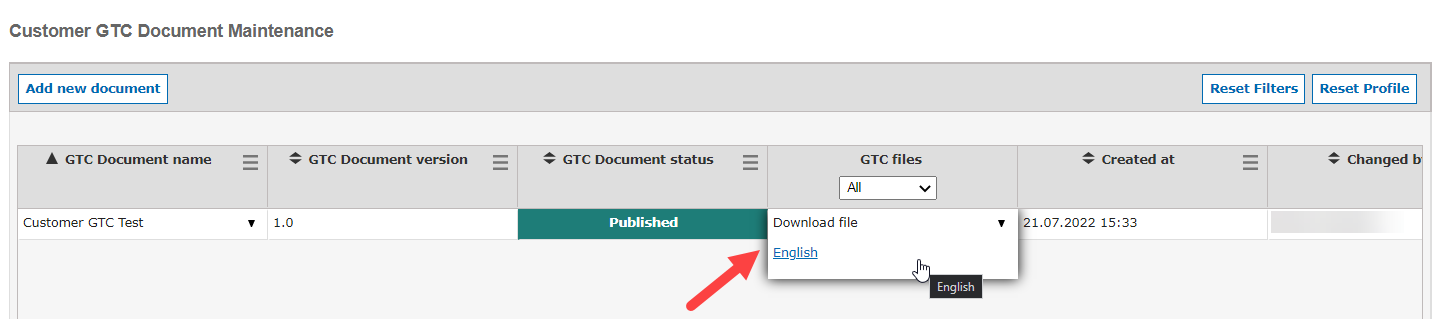
In overview column "GTC files", the files of the languages can be downloaded.